Akeyless!
Time to get started and setup our Akeyless account! Go to their registration page:
https://console.akeyless.io/registration
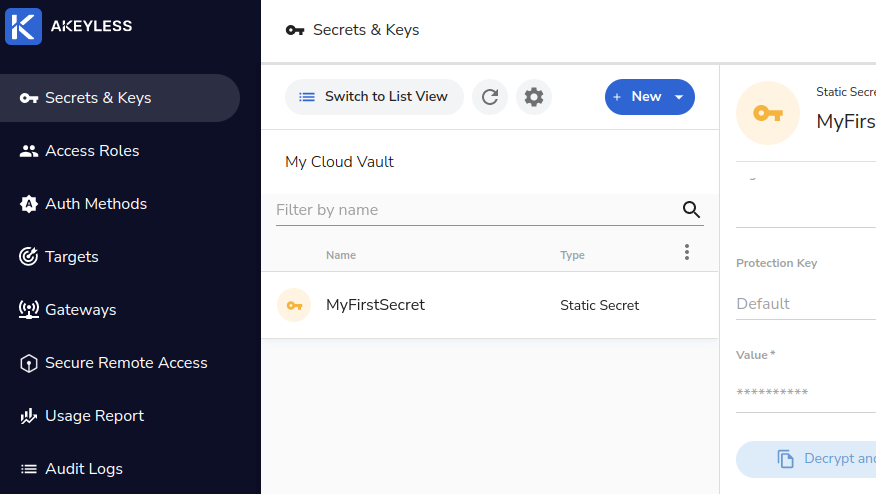
and signup with whatever method works for you. Once you sign in, you should see an example secret in an otherwise nice and empty vault, ready to be filled:
Organization
Before diving straight in, it’s worth talking about organization. Akeyless organizes everything into virtual folders. In this demo we’ll split things up by services and environments, i.e. a folder structure like:
/service/[service_name]/[environment_name]
The service we’ll build in this demo is the products service and we’ll be building the production environment. We’re also going to assume that every AWS account corresponds to one service and one environment, so everything in Akeyless under the /service/products/production folder will correspond to a single AWS account. I’ve found this level of separation to be quite effective, but of course you can adjust your own setup however you see fit.
First Steps in Akeyless
Setup SAML
The first thing you’ll want to do in Akeyless is setup SSO for your organization. In the left menu of Akeyless select “Auth Methods” -> “+ New” -> “SAML”. Select a name of your choice and then fill out the “Location” option with the virtual folder to put this new auth method in, and then configure the rest according to your SAML provider. Regarding the location, there are two main choices here which represent two different approaches:
- Set the location to your service+environment, e.g.
/service/[service_name]/[environment_name] - Set the location in a “shared” folder (e.g.
/shared)
Obviously the intention of the former is that there is a separate auth method for each environment, while the latter aims to use a single auth method for everyone who logs in. The key difference here is that each SAML auth method gets a separate login URL and has a separate set of permissions. Therefore, with a per-environment SAML auth method, you can restrict users to a single environment at a time - if they need to work in a separate environment they will have to logout and login again. With a shared environment you can give users access to multiple environments with a single login. Like anything else, this is a question of convenience vs. safeness/separation of concerns.
Also, you’ll likely want to click the “Require subclaims on association” checkbox when you setup your SAML auth method. This checkbox will later force you to specify subclaim checks when you attach it to a role and grant incoming users permissions. If you don’t do specify any subclaims, then all users in your organization that can authenticate via your SAML provider will be able to login to Akeyless with whatever permissions you granted. If that’s not what you want, then the “Require subclaims” checkbox will ensure that you can’t accidentally forget and allow all users in.
Setup a role
Before we can do anything though we have to assign permissions to our users by creating a role and associating it with the auth method. In particular, we’ll create an admin role that has full permissions to a particular service+environment. To do this go to the left menu and select “Access Roles” -> “+ New”. Set the name to admin and the location to the environment’s virtual folder (e.g. /service/products/production). Hit “Create Role”! Find your newly created role and then hit the “+ Associate” button to connect your SAML auth method to it. Specify some subclaims if you don’t want to give all users from your organization admin access to this environment. This grants your SAML users this role when they login.
After that we have to specify permissions for this role:
- On the auth method, make sure you are on the “Secrets & Keys” tab
- Hit the “+ Add” button
- Enter the path to grant access to (
/services/products/production) - Select “Apply Recursively”
- Select all permissions except deny.
- Hit “Add”
- Repeat for all the other tabs: “Access Roles”, “Auth Methods”, and “Targets”.
Here’s what we have:
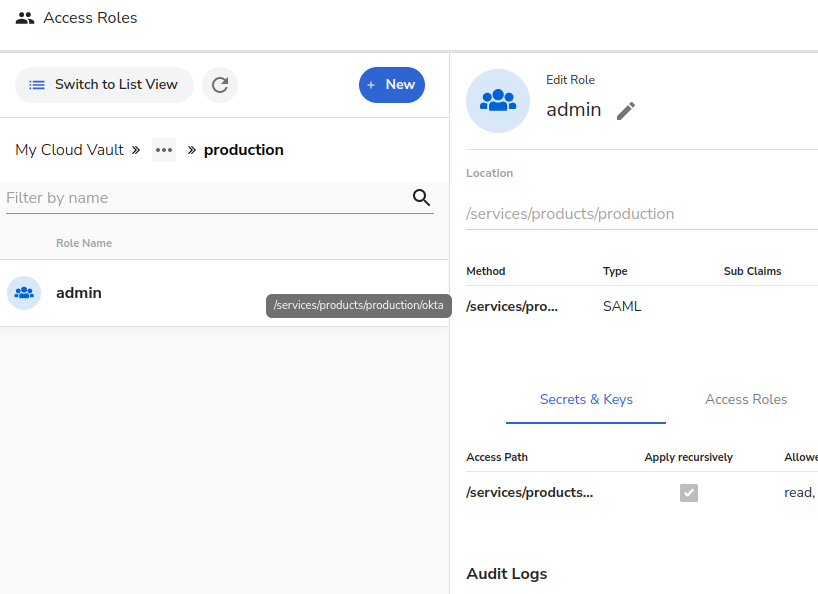
You now have an admin role for your environment and users who can access it via SAML! If you go back to the “Auth Method” section from the left menu and find your SAML auth method you can use it’s access id to login to the main Akeyless UI. Another option for a quicker login is to click the “Generate SAML Bookmark” button from the auth method. It will give you a URL to bookmark that will directly launch your SAML login flow.
Authentication
Gateway Preparation