Gateway Infrastructure Overview
Akeyless has extensive support for deploying Gateways on Kubernetes (K8s), but we’ll be deploying to ECS. If you’re already using K8s then you can just follow their instructions and use their helm chart. If you’re not a K8s user, then the ECS solution I use here may be easier for you.
In the last post we decided to use AWS IAM auth to authenticate the Gateway to Akeyless and gain the necessary permissions. Our Terraform repository will setup all of that for us. This is what we’ll need:
- An IAM role for the gateway (called
products-gateway), attached to the ECS task. - The
products-gatewayrole should have permission in AWS to assume theadminrole (this is how we generate temporary AWS credentials). - An AWS IAM Auth method in Akeyless for the
products-gatewayrole in AWS (allowing our Gateway to login to Akeyless). - The IAM Auth method for the Gateway should be attached to the
adminrole in Akeyless for our environment (giving the Gateway the Akeyless access it needs).
I mention these things because it’s important to understand the pieces. However, all of this will be built automatically by the Terraform repository that we’ll use to deploy our Gateway:
https://github.com/cmancone/credential-less-infrastructure
So all we need to do is download, modify, and deploy our Terraform repository.
Terraform
Let’s get started: download the repository! We’ll be deploying both the VPC for our infrastructure as well as the Gateway. The Gateway will be running in a Fargate-backed ECS cluster behind an application load balancer (ALB). It needs to expose a few services (mainly configuration and an API endpoint), so we’re going to point a subdomain to it and generate an SSL certificate via ACM. This Terraform repository will configure everything on the AKeyless side, but you’ll also need a Route53 hosted zone so that we can point a subdomain to the ALB. The process for creating a Route53 hosted zone depends on who you host your DNS with, so the most I can do is point you to the AWS documentation. Once you have a hosted zone and have downloaded the Terraform repository, you’ll just want to update the variables file - terraform/terraform.tfvars.
These are pretty straight-forward. The main one worth clarifying is Akeyless_gateway_allowed_access_ids. This is a list of access ids that will be used to configure the gateway. As discussed in the last blog post, the plan is to let Terraform configure the Gateway via IAM auth, and let admins have control via SAML. As a result, the access ids for your SAML auth method and the AWS IAM auth method that corresponds to the admin role in AWS (which we created in the last post) are what should go in this variable. It should be a string with the access ids separated by commas. For more details, see the note on ALLOWED_ACCESS_IDS on this page of the Akeyless docs. The access id for your admin role should also go in the Akeyless_aws_iam_access_id variable.
Finally, make sure and adjust your backend settings on line 9-11 of the terraform/main.tf file.
Deployment
Theoretically we just need to cd into the terraform directory and do a simple terraform init and terraform apply. However, we need AWS access! Once we have our Gateway this will be quite simple, but right now we need some bootstrapping. It’s not quite as simple as generating an IAM user with admin permissions and using the credentials locally, because to deploy our Akeyless resources we need to specifcally be using the admin AWS role we created in the last blog post. As a result, we’re going to create a Programmatic IAM user with permission to assume the admin role. We’ll then do that, generate some temporary STS credentials, and use those to deploy Terraform. From the AWS console, the process looks like this:
- Go to “IAM” -> “Users” -> “Add users”.
- Enter a username (e.g.
assume-admin) - For credential type choose “Access key - Programmatic access”
- Hit “Next: Permissions”
- We’ll manually attach a policy, which we can’t do here, so hit “Next: Tags”
- Enter any tags you want and then hit “Next: Review”
- Finally, hit “Create User”
- In your terminal enter
aws configureand paste in the credentials displayed on the screen. - In the AWS console, Go back to “IAM” -> “Users”, find your new user, and select it.
- Make sure you are on the “Permissions” tab and choose “Add inline policy”
- Click the “JSON” tab
- Enter the following policy:
{"Version": "2012-10-17", "Statement": {"Effect": "Allow", "Action": "sts:AssumeRole", "Resource": "*"}} - Hit “Review Policy”
- Enter a name (e.g. “AssumeAnyRole”) and hit “Create Policy”
In step 7 we configured your local AWS CLI to authenticate as this new user, so we should be able to assume the admin role (make sure and put in your AWS account id):
aws sts assume-role --role-arn arn:aws:iam::[YOUR_ACCOUNT_ID_HERE]:role/admin --role-session-name temporary-admin
However, this just spits the credentials to the screen. We need to actually use them. The simplest way to do this is to get the access id, secret access key, and session token into the standard AWS CLI environment variables. If you’re on something like linux/mac and have jq installed, you can copy and paste these commands into your terminal (again, make sure and put in your account id on the first line):
aws sts assume-role --role-arn arn:aws:iam::[YOUR_ACCOUNT_ID_HERE]:role/admin --role-session-name admin > aws_credentials
export AWS_ACCESS_KEY_ID=$(jq -r '.Credentials.AccessKeyId' aws_credentials)
export AWS_SECRET_ACCESS_KEY=$(jq -r '.Credentials.SecretAccessKey' aws_credentials)
export AWS_SESSION_TOKEN=$(jq -r '.Credentials.SessionToken' aws_credentials)
rm aws_credentials
You’re officially ready! Make sure you are in the terraform directory for the copied repo and then:
terraform init
terraform plan
terraform apply
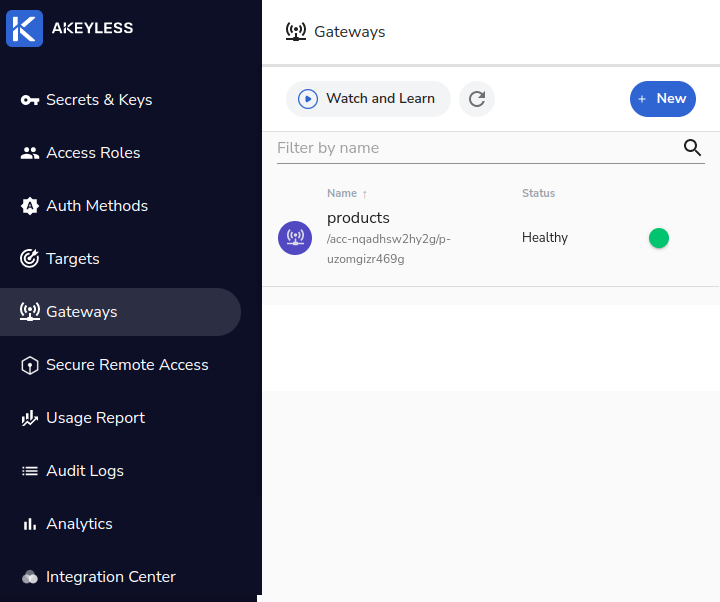
A few minutes later and your Gateway should be working! You should be able to see it in Akeyless on the list of gateways:
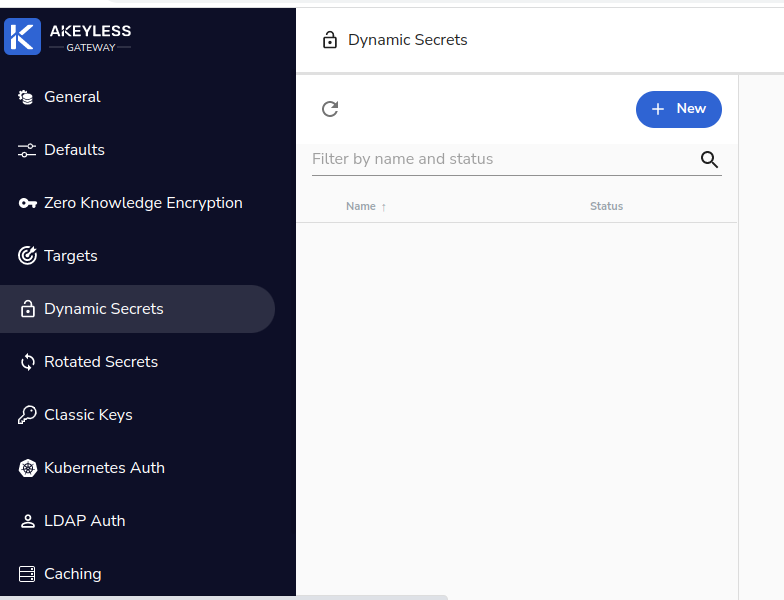
And you can login to the configuration page on port 8000 of your Gateway domain:
https://your-gateway.example.com:8000
Gateway Preparation
AWS Credentials