Database Migrations
Overview
Now that we have an RDS with a database, we can run database migrations and setup our tables. We need both network access (since the database is in a private subnet) and database credentials. We already know that database credentials will come from the Akeyless database producer. For network access we’re going to make this simple by deploying a Lambda into the same private subnet that the database lives in. We will then invoke it directly via the AWS API and pass it our migration commands. The other option would be to deploy a private Github runner into the same subnet as our database, but using a Lambda gives us more flexibility about where we run our pipelines, and is also more cost effective (since we don’t create any permanent infrastructure).
We’ll be using mygrations for the migration process. This tool works a bit differently than others. Rather than having a series of distinct steps (create table, add column, delete index, etc..), you simply define your tables’ schema via standard SQL. mygrations parses those files to understand your desired database schema, lists and describes the tables in the database to understand the current database schema, and then generates a migration plan to make your database match the schema declared in your SQL files. clearskies (the python framework we’ll use here) integrates with mygrations to give us a variety of options for both sending input to mygrations. In addition, clearskies already plays nicely with database dynamic producers and then passes that ability on to mygrations for us.
Connecting the dots
Once you understand the general process we follow, the rest is pretty simple. Still, to spell it all out, here are all the things we setup so that we can run our database migrations from a pipeline:
- Terraform creates a database dynamic producer for the migration lambda to use
- Terraform attaches an IAM role to the migration lambda
- Terraform creates an IAM Auth method in Akeyless for the Lambda’s IAM role
- Terraform creates an Akeyless role and attaches the migration lambda’s auth method to it.
- Terraform grants read access to the dynamic producer to the migration lambda’s role
- Terraform sets all the necessary Akeyless and database connection information in environment variables for the Lambda (see table below)
Terraform sets the following environment variables for the migration Lambda:
| Variable Name | Value |
|---|---|
akeyless_mysql_dynamic_producer |
The path to the database dynamic producer (from step #1) |
akeyless_access_id |
The access id of the IAM auth method that the Lambda should use to login to Akeyless (step #2 above) |
akeyless_api_host |
The domain to use when logging into Akeyless (can be the Gateway or the Akeyless cloud) |
db_database |
The name of the database |
db_host |
The domain/ip/url to the database |
Finally, we can invoke the Lambda and pass along the database migration information. When we do this, our Lambda:
- Logs in to Akeyless using IAM Auth and the Akeyless access id
- Fetches database credentials from the specified mysql dynamic producer
- Connects to the database using the database host from the environment and the temporary credentials
- Runs the database migration
Our Github Action executes this Lambda, so it follows this process:
- Login to Akeyless using OAuth2
- Fetch AWS credentials with permission to execute the migration Lambda
- Synchronously execute the migration Lambda, passing along the desired database schema from the repository
Adding our Database Schema
Our workflow is already designed to execute the migration. If you recall, we turned off the database migration when we first ran our workflow since the database didn’t exist. Now that we have a database we can go ahead and run it. All we have to do is edit the workflow file and remove the run-database-migrations: false line from our workflow. Also, make sure and set the name and region of the migration Lambda in the workflow inputs (the name is one of the outputs from Terraform).
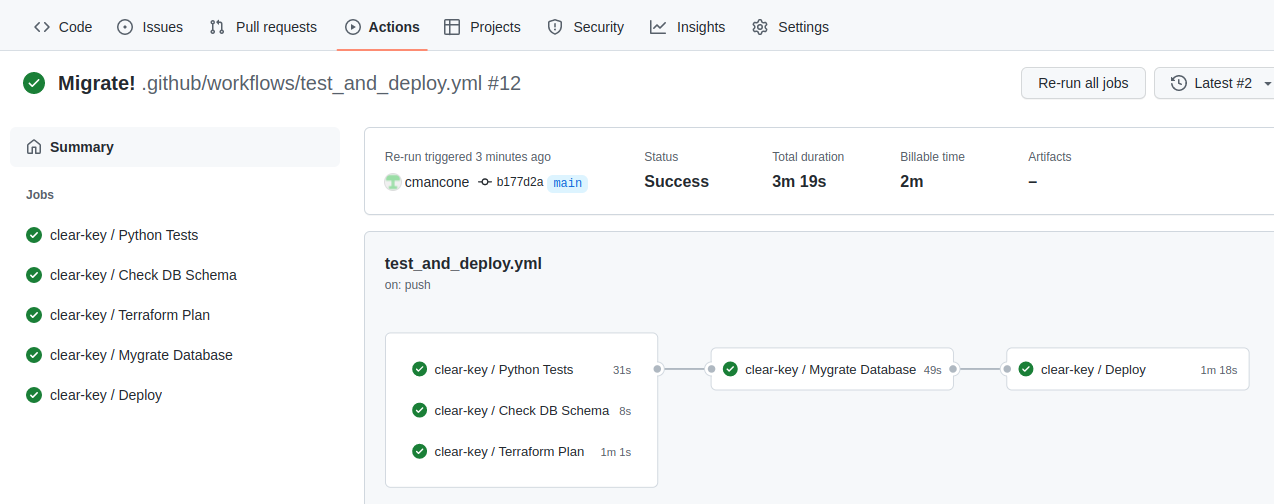
Push/merge your changes into the main branch and the migration step will run. You’ll now have a database that is ready to go!
Application Database
Application